Why You Need Them, How to Pick the Right Type, and Practical Tips from Experienced Gardeners
If you have ever started seedlings on a windowsill and watched them stretch toward the glass, you already know the problem. Indoor natural light usually looks bright to us, but it is not intense enough for most young plants. Seedlings respond by growing tall and thin, with pale leaves and weak stems. That early weakness can follow them for weeks and make transplanting harder.
Grow lights solve that mismatch. They give seedlings consistent, predictable light so they grow compact, sturdy, and ready for real sun outdoors. The goal is not to “supercharge” plants. The goal is to give them the conditions they need for normal development.
This guide focuses on simple choices that work for home gardeners. You will learn how to pick a light type, what to look for in specs, how long to run lights, how far to place them above seedlings, and how to set everything up safely. Along the way, you will also see how good lighting connects to seed starting tips that prevent common failures like slow growth, mold, and weak stems.
Why seedlings need grow lights indoors
Seedlings need two things from light. Intensity and consistency.
A sunny window can provide decent brightness for a few hours, but the light changes all day. It also comes from one direction, which encourages leaning. In winter and early spring, days are shorter and the sun sits lower in the sky, which further reduces indoor intensity.
When seedlings do not get enough light, you will usually see:
- Tall, thin stems and a “reaching” look
- Leaves that are smaller than expected and lighter green
- Slow development of true leaves
- Plants that tip over easily when watered
Good lighting supports stronger stems and thicker leaf tissue. It also reduces stress, which matters because stressed seedlings are more likely to develop seed starting problems like damping-off or persistent weakness after transplanting.
What “full spectrum” really means
Most gardeners shopping for lights see the phrase “full spectrum.” In practice, you want a light that supports healthy vegetative growth for seedlings.
Seedlings primarily need strong light in the range plants use for photosynthesis. Many modern LED grow lights provide a balanced spectrum that works well for seed starting, without requiring you to micromanage “red” versus “blue” settings.
Instead of getting stuck on marketing terms, focus on practical results. The right light should help you grow seedlings that are compact, evenly colored, and not leaning. If you can achieve that, the spectrum is doing its job.
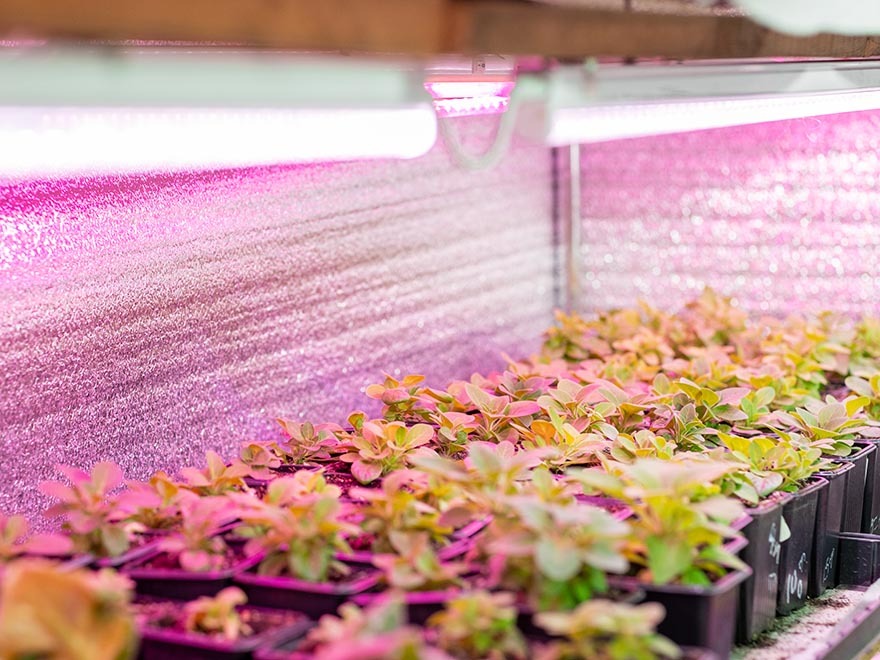
Main types of grow lights for seed starting
LED grow lights
LEDs are the easiest choice for most home gardeners.
- Energy efficient
- Long lifespan
- Low heat compared with older technologies
- Available in panels, bars, strips, and clip-on fixtures
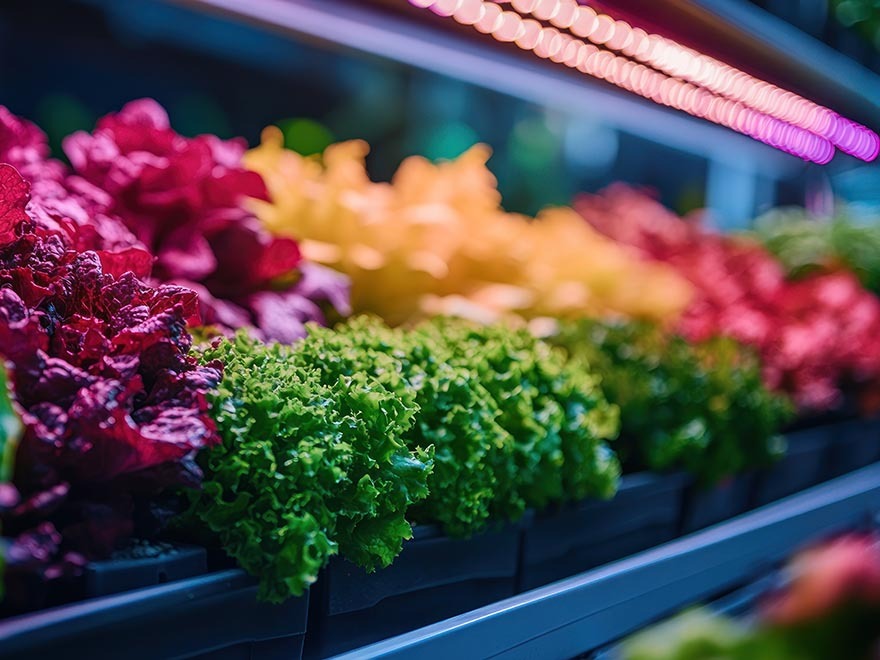
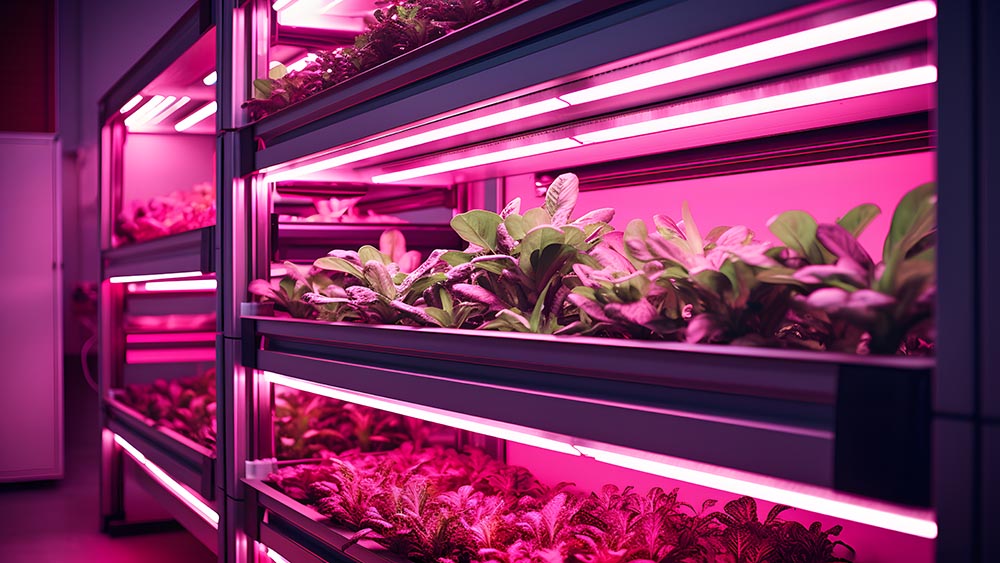
For shelves and trays, LED bars or shop-light style fixtures are often the most convenient. They spread light evenly across a flat surface, which is exactly what seedlings need.
Fluorescent lights (T5 or similar)
Fluorescents have been used for decades for seed starting.
- Affordable and widely available
- Work well when placed close to seedlings
- Usually easy to mount over shelves
The main downside is that fluorescent bulbs lose output over time. Many gardeners replace them every couple of seasons to keep results consistent.
HID lights (metal halide, high-pressure sodium)
HID lights are powerful, but they are usually not worth it for a typical seed-starting shelf.
- Very bright
- Produce significant heat
- Often require ventilation and more space
For most indoor seed-starting setups, HID is more complexity than you need.
What to look for when buying a grow light
Here is the simplest way to think about it. You want enough light intensity to cover your growing area evenly, and you want a fixture you can position at the right height.
Coverage matters more than “power”
Many products advertise watts, but what you really care about is whether the light covers your trays with even intensity. A strong light that only covers half your shelf creates a patchwork. Some seedlings will thrive while others stretch.
Before you buy, measure:
- The length and width of your shelf or tray area
- How many trays you want to light at once
- Whether you will add more shelves next season
A clean setup is one that matches the light footprint to your actual growing footprint.
Look for practical adjustability
Seedlings grow quickly. You will need to raise the light as plants get taller. Choose a fixture that makes this easy, such as:
- A hanging kit
- Adjustable chains
- A shelf system that allows height changes
If adjusting height is annoying, most people stop doing it. Then seedlings stretch. This is one of the most common reasons people end up searching for leggy seedlings fix after they thought they bought the right light.
Dimmable is helpful but not required
A dimmer can be useful if you plan to use one fixture for multiple stages. That said, most gardeners can do fine without it by adjusting height and run time instead.
How long to keep grow lights on
For most seedlings, 14 to 16 hours per day is a solid target. More is not always better. Plants also benefit from a daily dark period. That rest time supports normal growth cycles.
A timer is one of the simplest upgrades you can make. It protects consistency, which is a big part of successful indoor growing. Without a timer, it is easy to forget, overcorrect, or run lights irregularly.
If your seedlings look healthy but growth is slow, do not automatically add more hours. First check light distance and even coverage. Then check temperature. Seed starting is a system, and light is only one part of it.
How far lights should be from seedlings
Distance is where most indoor setups succeed or fail.
If the light is too far away, seedlings stretch. If it is too close, leaves can bleach or scorch, especially under stronger LEDs.
General starting points:
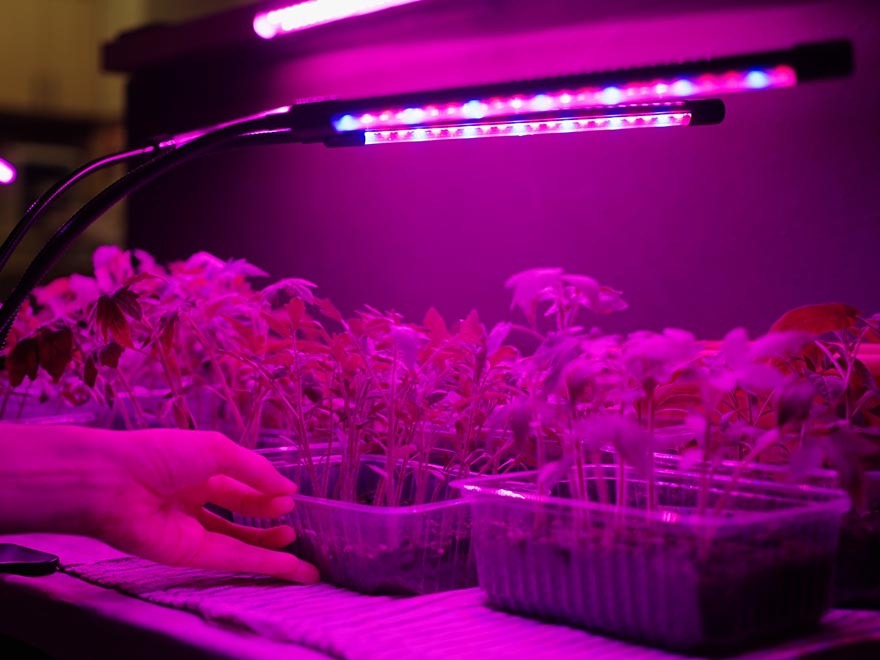
- LED fixtures. Start around 6 to 12 inches above the top of seedlings, then adjust based on plant response
- Fluorescent fixtures. Often work best closer, roughly 2 to 4 inches above seedlings
- Very strong fixtures. Follow manufacturer guidance, then watch the plants closely during the first week
The best approach is simple. Set a starting distance. Observe for 2 to 3 days. If seedlings begin leaning or stretching, bring the light closer. If leaves show pale patches or crisping, raise the light slightly.
This is also the cleanest preventative approach to leggy seedlings fix. The real fix is not a trick. It is correcting intensity and distance early.
Signs your lighting setup is working
Healthy seedlings under proper light tend to look like this:
- Shorter stems with visible thickness
- Leaves that are evenly green, not pale
- Little to no leaning in one direction
- Steady production of true leaves
If you see uneven growth across the tray, you may have coverage issues. Rotate trays every day or two, or improve reflectivity around the shelf so light is more uniform.
Safety and setup basics
Grow lights are simple tools, but your setup needs to respect water and electricity.
Use these habits:
- Mount lights securely so they cannot fall onto trays
- Keep plugs, power strips, and connections away from any water source
- Use a surge protector
- Route cords so you will not snag them while watering
- Avoid draping cords where condensation can drip
Airflow matters too. Still, humid air encourages mold on soil and can worsen seed starting problems. A small fan on low, not pointed directly at seedlings, improves air movement and helps strengthen stems over time.
Practical “experienced gardener” tips that actually help
Reflect light instead of buying more light
If your shelf is open on the sides, you lose light. Simple reflective surfaces can improve efficiency. You do not need anything fancy. The goal is to bounce light back toward plants and reduce dark corners.
Combine warmth for roots with light for leaves
Many gardeners use a heat mat during germination, then remove it once most seedlings are up. That timing matters. Warmth helps seeds sprout. After sprouting, too much heat combined with insufficient light can increase stretching. If seedlings look tall too fast, check temperature and light distance together.
Keep the light close, then raise it gradually
A common pattern is starting too far away because it “looks bright.” Seedlings do not care how it looks to us. Start closer, watch plant response, and raise as needed.
Clean the fixture occasionally
Dust reduces output. A quick wipe on the fixture surface helps keep light consistent over the season.
A simple grow light checklist before you buy
Use this as a quick filter when shopping.
- Does the light cover the full size of my tray or shelf area evenly
- Can I adjust height easily as seedlings grow
- Can I run it on a timer without complicated controls
- Does it produce low enough heat for indoor shelves
- Is it a bar or strip style if I am lighting flat trays
- Do I have a safe way to mount it and keep cords dry
If you can confidently answer yes to those, you are likely choosing something that will work well for seedlings.
Final thoughts
Choosing grow lights does not need to be confusing. Most seed-starting failures come from a few predictable problems. Light too weak, light too far away, light run inconsistently, or airflow ignored. When you solve those basics, you get sturdy seedlings that handle transplanting far better.
Strong indoor lighting supports the whole seed-starting process, from early growth to the point where plants are ready to go outside. And when you pair good lighting with smart seed starting tips, you prevent many of the common frustrations that make people give up early.
Using a digital tool like a garden planner app can also help track plant health and anticipate seasonal pest activity. The app helps you track your plants, recognize early signs of trouble, and choose the right organic pest control or standard treatment. If you enjoy comparing tools, exploring a best gardening app list may help you find the right fit for your gardening approach.
Download easyDacha and keep your garden one step ahead of insects all year.