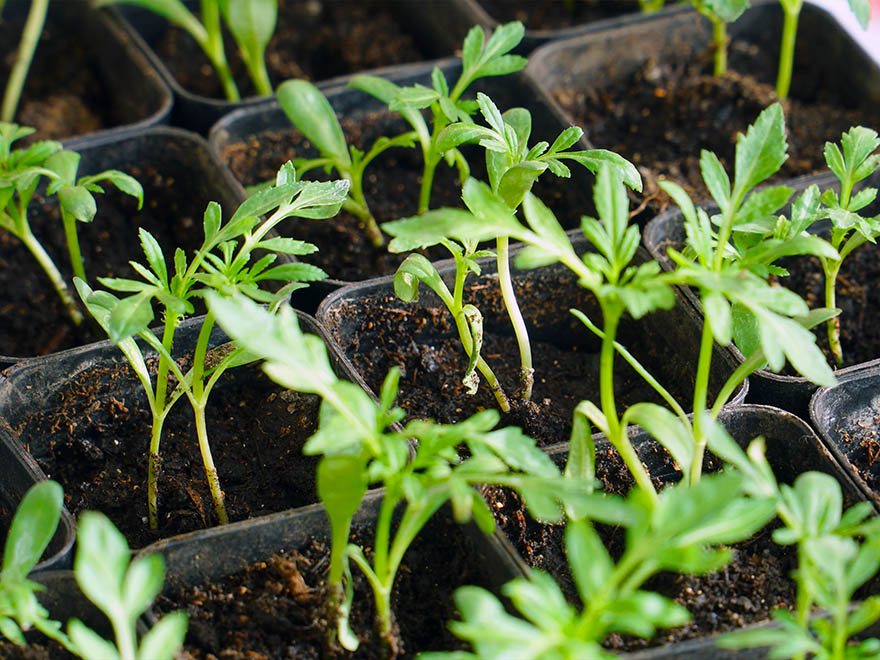
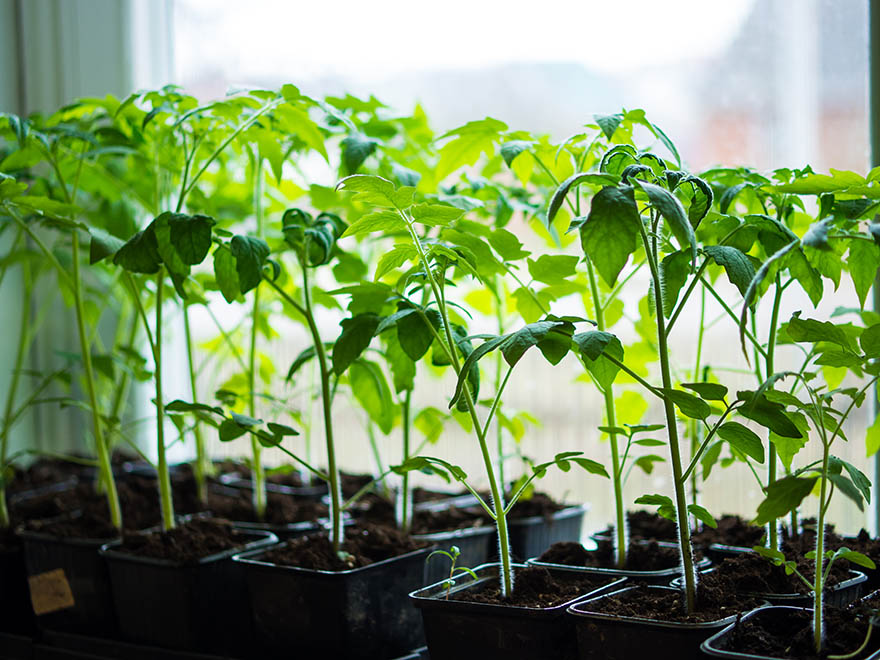
You’ve spent weeks caring for your seedlings indoors. You watched them sprout, grow their first true leaves, and develop strong stems under lights. By the time they look healthy and sturdy, it’s tempting to move them straight into the garden.
In reality, most seedlings are not prepared for outdoor conditions right away. Inside, they live in a protected environment with stable temperatures, gentle light, and no wind. Outside, they face direct sun, shifting temperatures, drying wind, and cooler nights. Without preparation, even strong seedlings can wilt, scorch, or stop growing within days of planting.
Hardening off is the process that bridges this gap. Understanding how to harden off seedlings properly is one of the most important steps between seed starting and a successful garden.
If you want help with timing and daily reminders during this stage, easyDacha garden planner app can support you. The app helps plan how to harden off seedlings day by day, offers practical seed starting tips, and reduces common seed starting problems caused by rushing the process.
What Hardening Off Really Means
Hardening off is not about growth. It is about adaptation.
Indoor-grown plants have:
• soft leaf tissue
• thin stems
• no exposure to wind or UV light
Outdoor conditions introduce:
• stronger sunlight with UV rays
• wind that dries leaves and stresses stems
• temperature swings between day and night
Learning how to harden off seedlings allows plants to gradually adjust and build natural defenses before they are planted permanently outdoors.
Skipping this step often leads to transplant shock. This is one of the most common seed starting problems, especially for gardeners who rush planting after the last frost.
When to Start Hardening Off Seedlings
Start hardening off about 7–10 days before transplanting outdoors.
Your seedlings are ready to begin when:
• They are at least 3–4 inches tall
• They have several true leaves
• Daytime temperatures stay above 50°F
• You have already slightly reduced watering
Knowing how to harden off seedlings also means knowing when to pause. If temperatures drop suddenly or strong winds appear, stop the process and continue once conditions improve. This flexibility helps prevent setbacks and future seed starting problems.
Step-by-Step. How to Harden Off Seedlings
Days 1–2. Gentle Introduction
• Place seedlings outside in full shade for 2–3 hours
• Protect from wind
• Bring plants back indoors before evening
• Avoid direct sun completely
This stage introduces fresh air and natural light without stressing delicate leaves. It sets the foundation for how to harden off seedlings safely.
Days 3–4. Light Sun Exposure
• Move seedlings to morning sun and afternoon shade
• Increase outdoor time to 4–6 hours
• Allow light airflow, but avoid strong wind
At this stage, gentle movement helps strengthen stems. Brushing the tops of seedlings or using a small fan indoors are effective seed starting tips that support stronger growth.
Days 5–6. Full-Day Exposure
• Leave seedlings outside all day
• Allow more direct sunlight
• Rotate trays for even exposure
• Water slightly less often, but never let soil dry out
Consistent moisture remains important throughout how to harden off seedlings, even as plants face tougher conditions.
Days 7–8. First Overnight Stay
• Leave seedlings outside overnight if temperatures stay above 50°F
• Choose a sheltered location
• Avoid rain and strong wind
This is often where rushed hardening leads to seed starting problems. Observe plants closely the next morning for stress signs.
Days 9–10. Ready for Transplanting
• Seedlings should tolerate full sun and wind
• Transplant on a cloudy day or early morning
• Water deeply after planting
When done correctly, how to harden off seedlings makes transplanting calm and predictable instead of risky.
Common Hardening-Off Mistakes

Some issues appear again and again during this stage.
Watch out for:
• Moving plants into full sun too early
• Exposing seedlings to strong wind too soon
• Overwatering or letting soil dry completely
• Fertilizing during hardening off
Balancing exposure and moisture is one of the most valuable seed starting tips. Fertilizer is not needed at this stage and often contributes to seed starting problems instead of helping.
After Transplanting. Supporting the Transition
Once seedlings are planted:
• Water deeply right after planting
• Check moisture daily for the first week
• Provide temporary shade if sun is intense
Some wilting on day one is normal. New growth within a week means the hardening process worked.
Many gardeners track this stage with a garden planner app. Tools like easyDacha are often mentioned alongside the best gardening app options because they help manage timing, reduce mistakes, and prevent repeated seed starting problems.
Why Hardening Off Is Worth the Effort
Hardening off protects weeks of careful seedling care. Plants that adjust gradually:
• establish faster
• develop stronger roots
• handle weather stress better
• grow more consistently
Understanding how to harden off seedlings is a basic gardening skill, not an advanced one. Combined with solid seed starting tips, it dramatically improves transplant success for gardens of any size.
If you want an easier way to stay on schedule, easyDacha can guide how to harden off seedlings, support practical seed starting tips, and help prevent common seed starting problems.
Download garden planner app