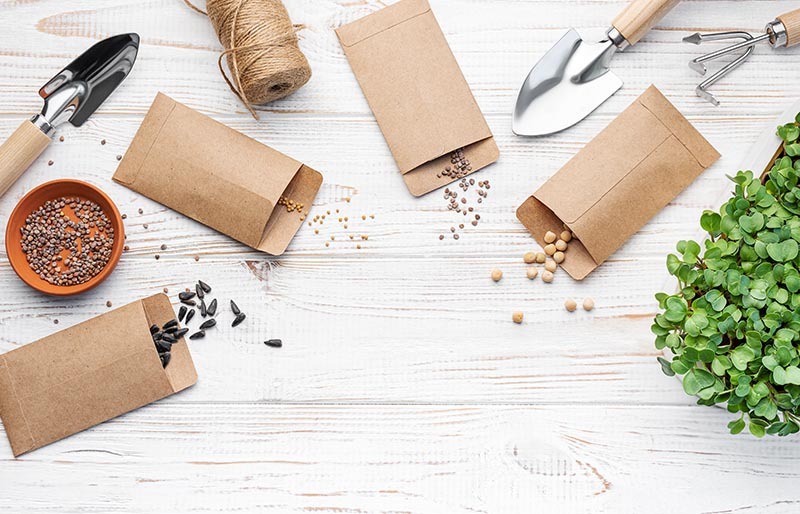
If you want better germination, soaking seeds can be a useful tool, but it is not always the right move. The goal of soaking is simple. It helps seeds absorb water and swell, which is the first stage of sprouting. Inside every seed is a tiny embryo. Once water enters the seed, the embryo activates and begins the process of germination.
This is one of the most practical seed starting tips because it helps you control timing. When seeds start the swelling stage before they go into soil, they often sprout more quickly once planted. That can matter in dry climates, in cool early spring weather, or when you are direct sowing outdoors.
Why soak seeds in the first place
Soaking works because it starts the hydration phase early. Seeds need both moisture and oxygen to sprout. The trick is to hydrate without drowning the seed.
Different seeds respond in different ways:
- Some swell quietly with no visible change.
- Some crack open as the seed coat softens.
- Some produce a gel-like coating that helps keep them moist during sprouting.
If your goal is faster and more even germination, soaking can help. But it has to match the seed type.
When soaking is most helpful
Soaking is especially useful when you are direct sowing outside, because outdoor soil moisture is harder to control.
Soak seeds if:
- You live in a dry climate and soil dries quickly.
- You are planting directly in the ground rather than starting in trays.
- You want faster germination for larger seeds.
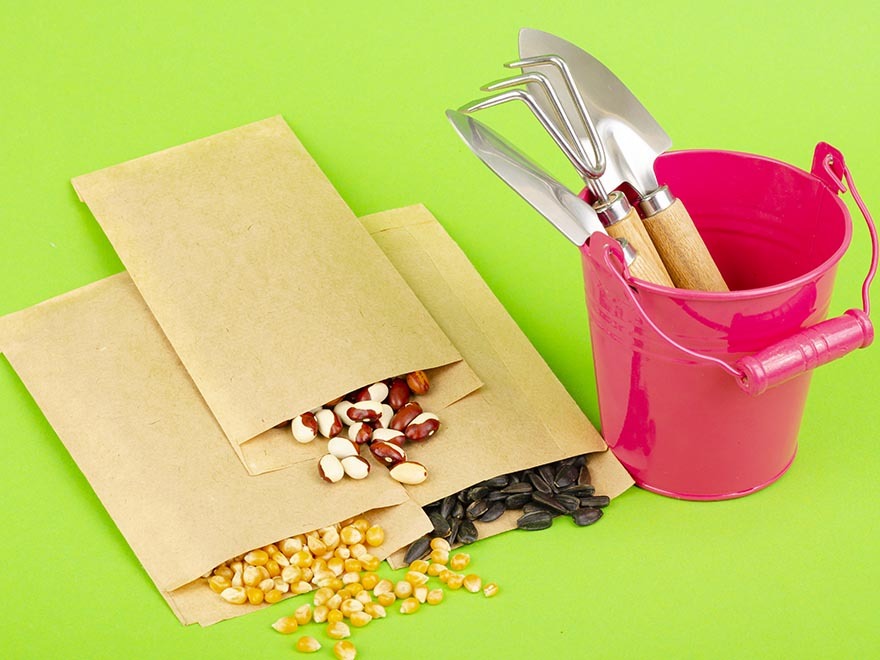
Seeds that often respond well to soaking include:
- Peas
- Beans
- Corn
These are common cases where soaking can reduce seed starting problems like uneven germination or slow sprouting.
How long to soak
For most large seeds, 8 to 12 hours is enough. If you soak too long, the seed can run out of oxygen and begin to rot.
A simple rule. Soak in a breathable setup and do not leave seeds submerged for more than 12 to 24 hours unless the seed packet recommends it.
A quick method that avoids rot
- Use room-temperature water.
- Place seeds in a jar or cup.
- Cover loosely so air can still exchange.
- Drain after soaking and plant right away.
This reduces common seed starting problems like sour smell, mushy seeds, or mold.
When soaking is not necessary
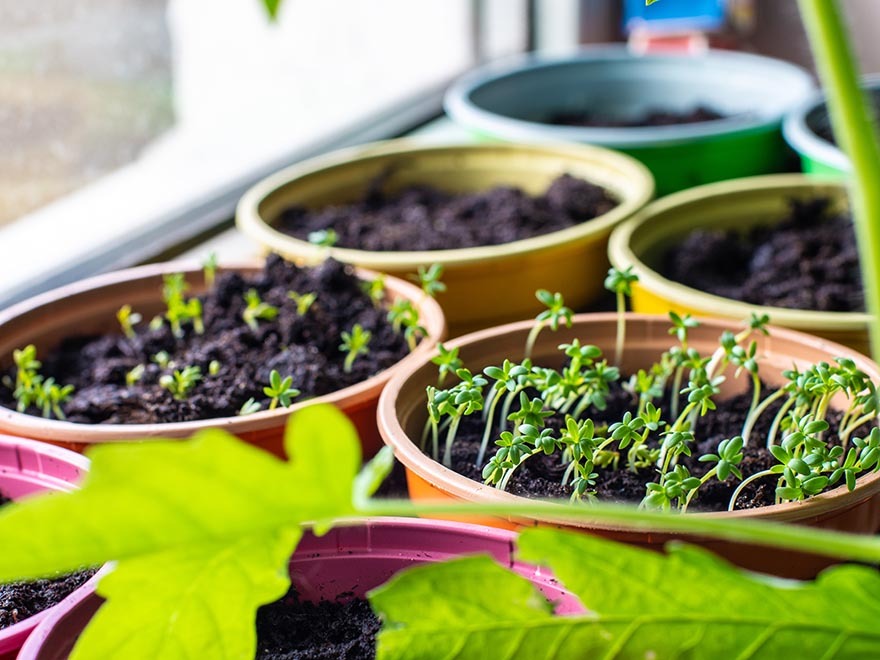
You usually do not need to soak seeds when you start them indoors in trays or pots. In that setup you can keep the seed-starting mix evenly moist, which provides the same hydration benefit without extra handling.
Skip soaking if:
- You are starting seeds indoors and can control moisture.
- The seeds are coated, pelleted, or pre-treated.
For example:
- Many cucumber seeds come treated or coated. Soaking can wash off protective coatings.
- Pelleted flower seeds are fragile and can be damaged by soaking.
Skipping soaking in these cases is one of the simplest seed starting tips to improve success.
Seeds that should not be soaked
Avoid soaking:
- Very small seeds that are hard to handle once wet
- Pelleted seeds
- Seeds that sprout tiny delicate roots that break easily
Instead, use this indoor-friendly approach:
- Moisten your seed-starting mix thoroughly.
- Place seeds on top or at the recommended depth.
- Cover the container to hold humidity until sprouting.
- Ventilate daily to prevent mold.
This method prevents seed starting problems related to damaged sprouts and broken roots.
What about old or expired seeds
Old seeds are not automatically useless. They are just less predictable. If you find old seed packets, you can test them first by sprouting a few on a damp paper towel.
If germination is weak, soaking can sometimes help. Some gardeners use gentle stimulants such as seaweed extract or humic substances. The goal is to support hydration and early metabolism.
Use caution. Strong mixes and fertilizers can harm sensitive seedlings. For old seeds, the safest approach is usually:
- Test a small batch first.
- Use clean water.
- Keep warmth steady.
- Provide oxygen.
If you are running into repeated failures, this often shows up as seed starting problems like weak sprouts or seeds that swell but never root.
Final thoughts
Soaking seeds is a tool, not a rule. It works best for larger seeds, dry conditions, and outdoor direct sowing. It is not necessary for most indoor seed-starting trays, and it is risky for pelleted or delicate seeds.
If you follow these seed starting tips, you will get faster, more even germination without increasing seed starting problems.
If you want extra support while you learn these seed starting tips, the easyDacha garden planner app can help you choose when to soak, how long to soak, and what method fits each crop. It also keeps your notes in one place so you can avoid repeat seed starting problems and improve results season after season.
Download the best garden planner