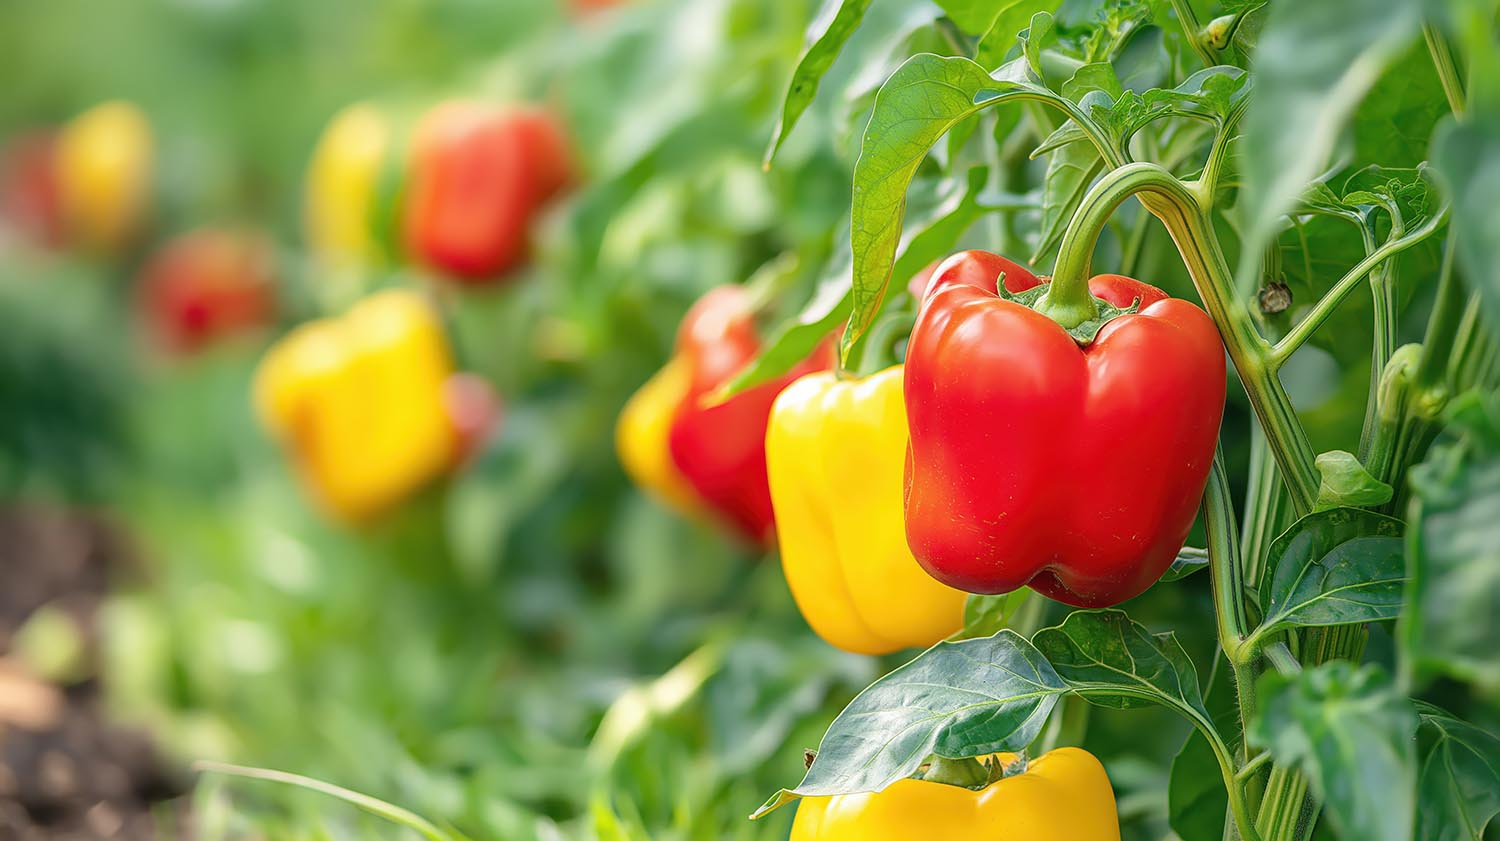
Growing peppers at home is one of the most rewarding gardening experiences. Once you understand the basic stages, the process becomes predictable and manageable, even for beginners. This guide explains how to grow peppers step by step, from seed preparation to transplanting, so your plants develop strong roots and produce consistent harvests.
Peppers are warm-season plants that respond well to careful planning. When each stage is done correctly, seedlings grow evenly, adapt better to transplanting, and start flowering earlier.
After years of working with different varieties, one thing is clear. Most problems with peppers come not from pests or diseases, but from rushed or skipped early steps.
Using a garden planner app like easyDacha helps track each stage. From seed soaking to hardening off, structured reminders reduce mistakes and ensure nothing important is missed, especially when growing multiple pepper varieties at once.
Step 1: Preparing the Seeds for Germination
Strong seedlings start with proper seed preparation. To improve germination speed and early immunity:
- Soak the seeds in a succinic acid solution (1 tablet per 1 liter of water) for 12 hours.
- After soaking, rinse the seeds and place them in a damp paper towel or cotton pad at 25-28°C (77-82°F) for 1-2 days until they start sprouting.
This step is optional but highly recommended if you want uniform sprouting.
Step 2: Creating the Perfect Soil Mix
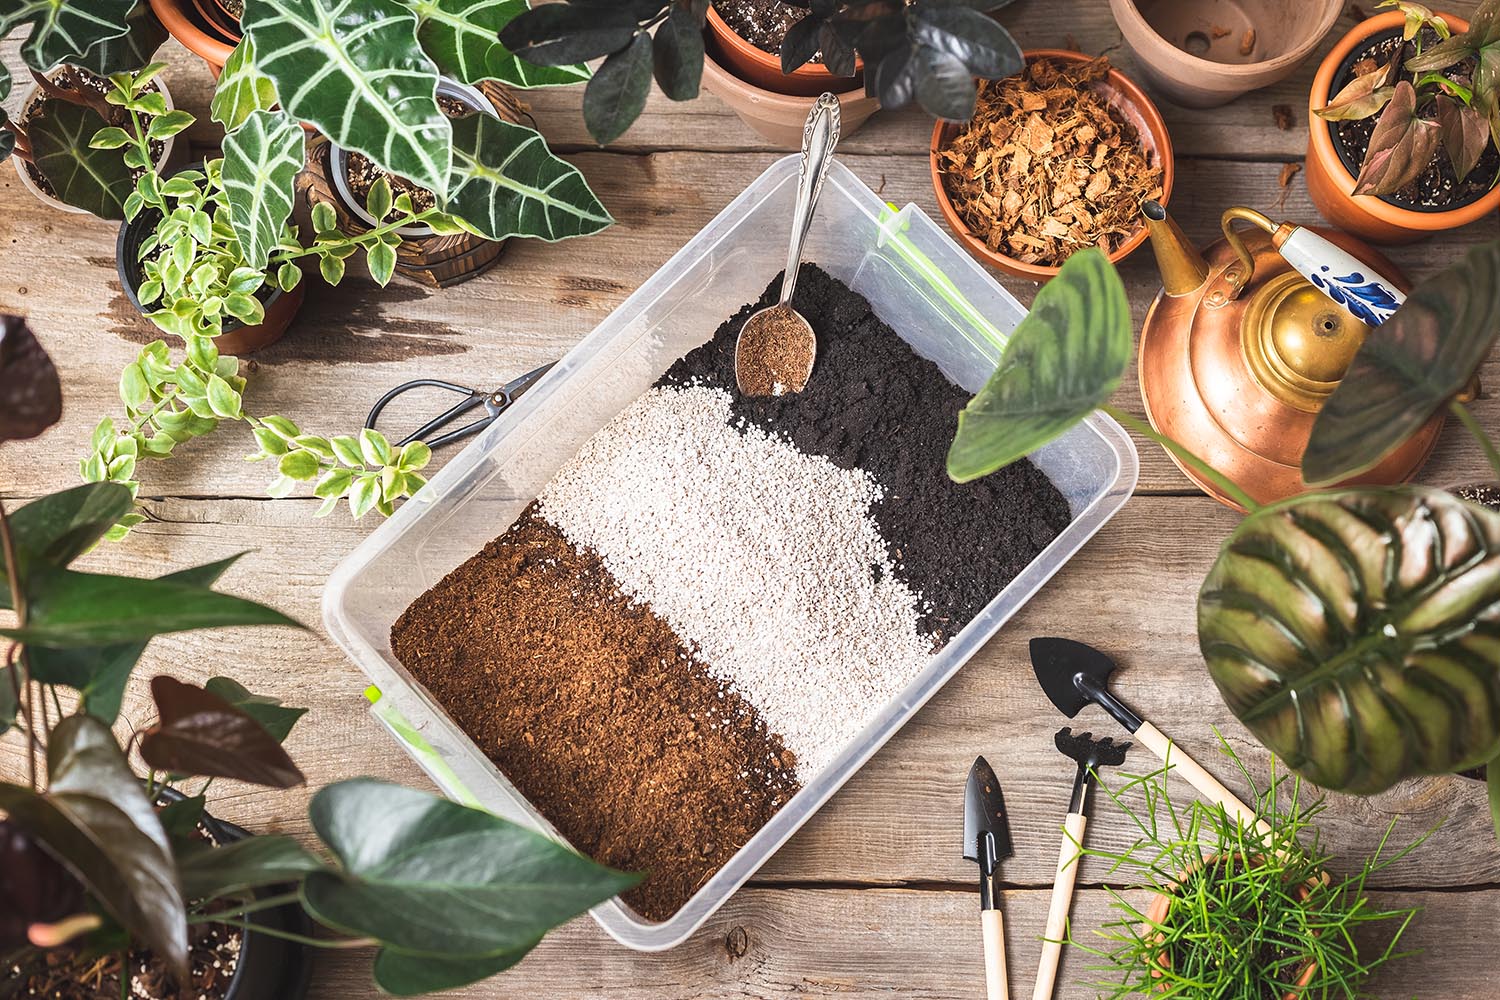
Peppers thrive in light, nutrient-rich, and moisture-retaining soil. Here’s the ideal mix:
- 50% Coconut Coir – Ensures lightness and aeration.
- 30% Compost – Provides essential nutrients.
- 10% Perlite – Improves drainage and retains moisture.
- 10% Vermiculite – Helps with moisture regulation and adds minerals.
- Crushed Eggshells (1 tbsp per liter of soil) – Natural source of calcium for strong roots.
💡 Tip: Soak coconut coir in hot water before use, let it expand, squeeze out excess moisture, and rinse it to remove any salts.
This foundation is critical when learning how to grow peppers successfully indoors.
Step 3: Choosing the Right Containers
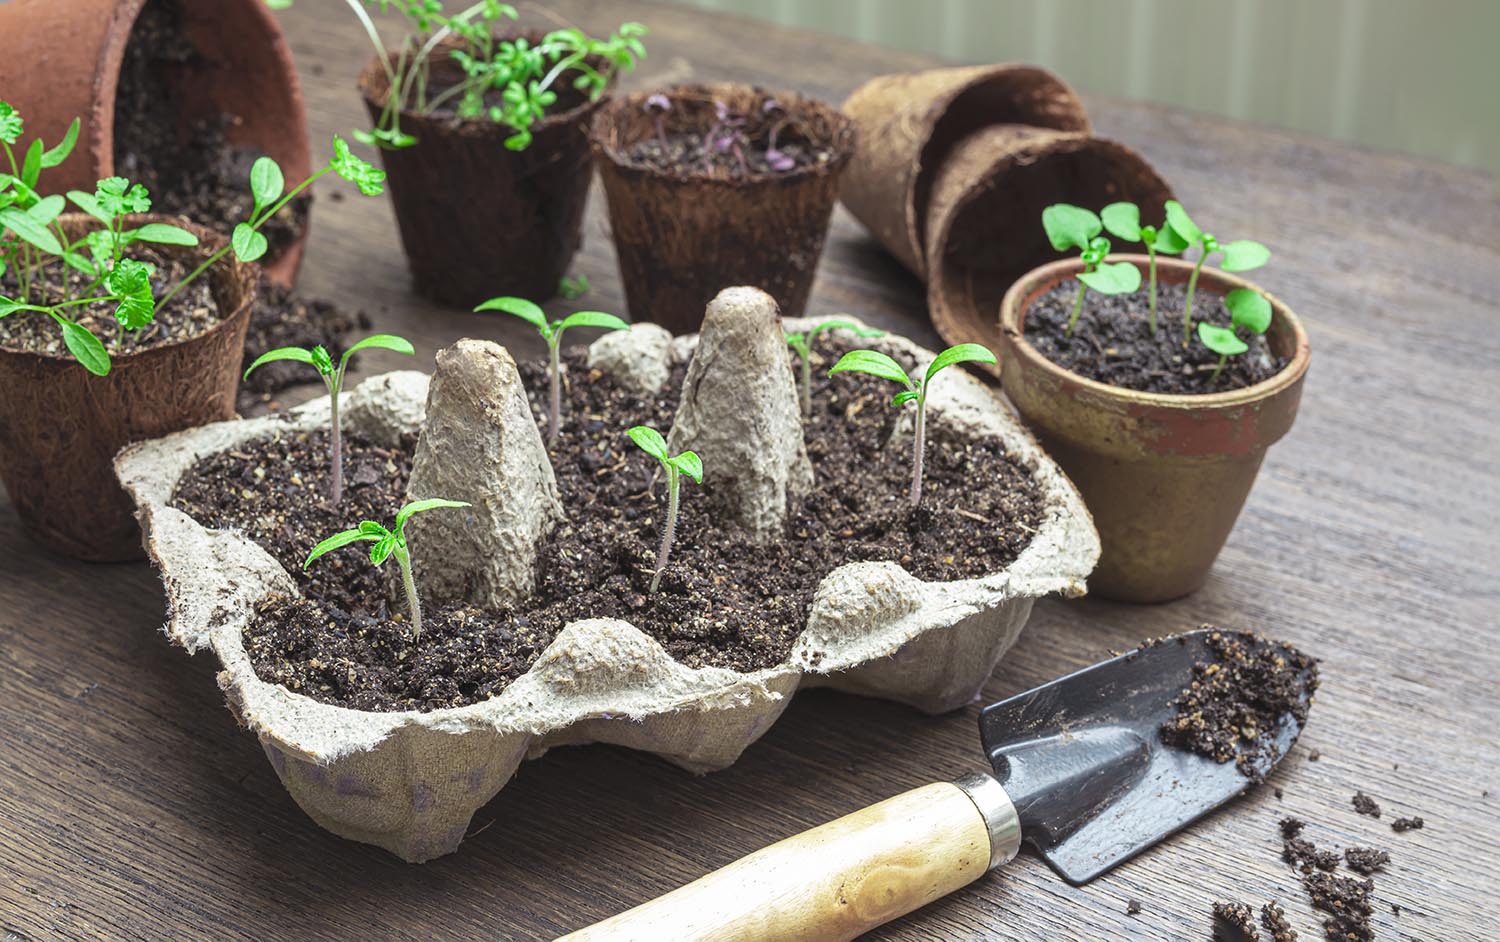
- Egg Cartons – Great for initial germination as they create a mini-greenhouse effect. If using, treat them with boiling water first.
- Small Plastic Cups or Seed Trays – Ensure they have drainage holes to prevent root rot.
Step 4: Sowing the Seeds
- Fill your containers with the prepared soil mix and lightly compact it.
- Create small holes (0.2-0.4 inches / 0.5-1 cm deep) and place 1-2 seeds in each hole.
- Cover lightly with soil and mist with warm water using a spray bottle.
- Cover with plastic wrap or a transparent lid to maintain high humidity.
Step 5: Creating the Best Germination Conditions
- Temperature: Keep the containers at 25-28°C (77-82°F) using a heating mat if necessary.
- Humidity: Cover the seeds with plastic wrap or a lid but ventilate daily by removing condensation.
- Light: Not required until seedlings appear.
⏳ Germination Time: Peppers usually sprout within 7-14 days.
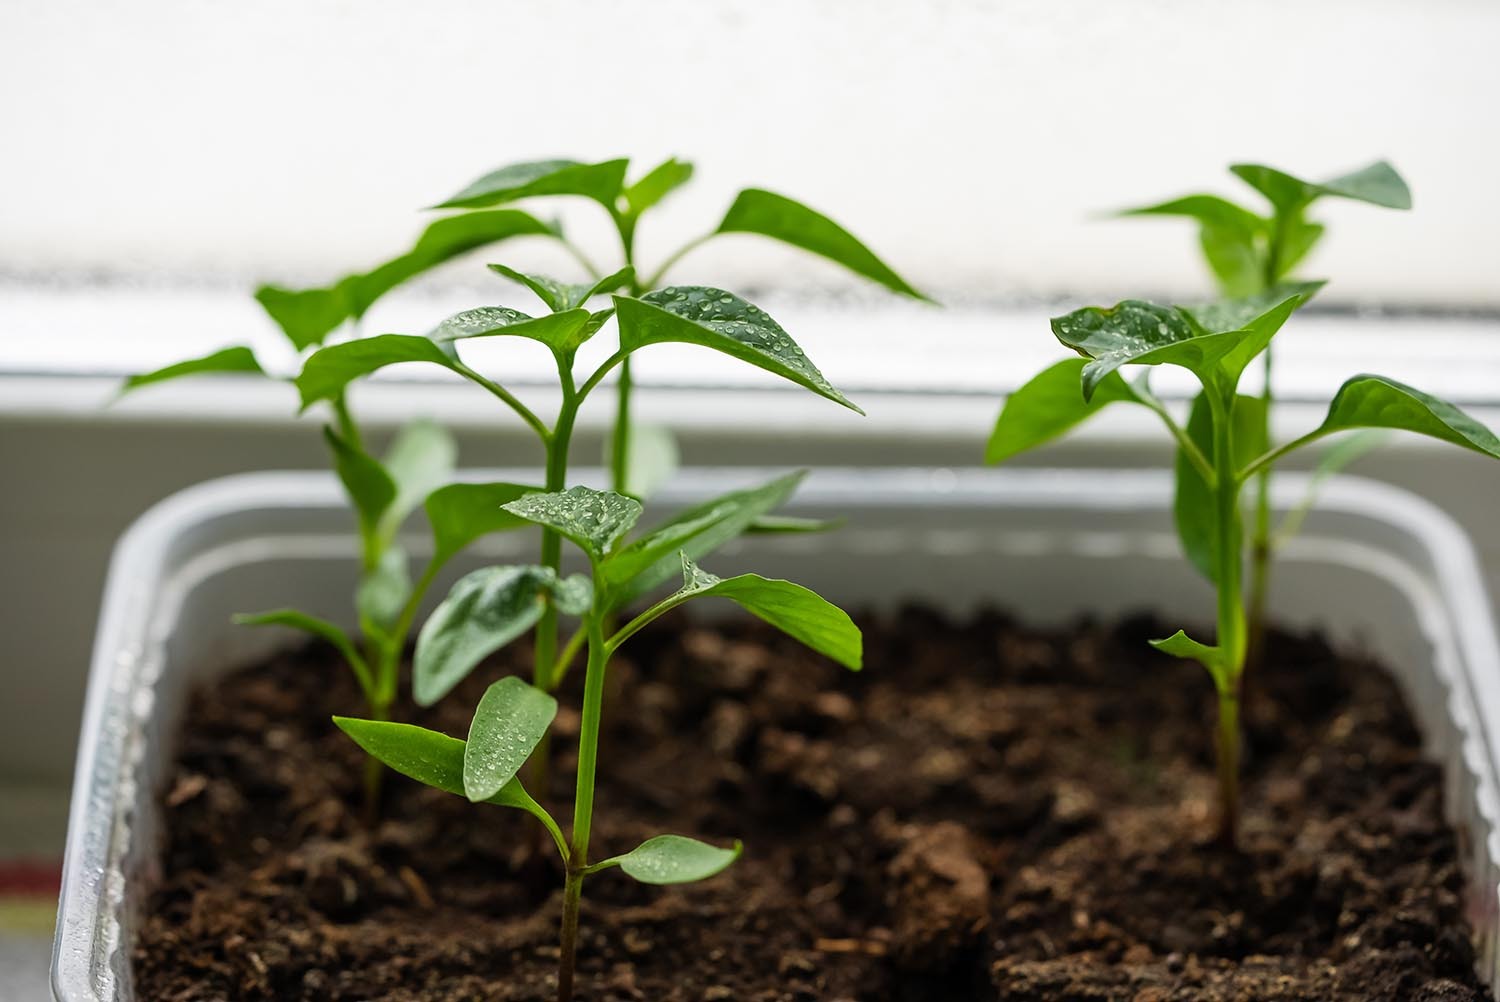
Step 6: Caring for Seedlings
Once the seedlings emerge:
- Remove the cover and place them under a grow light or on a bright windowsill (12-14 hours of light per day).
- Prevent leggy seedlings – If they stretch, they need more light. Consider using a grow light.
- Water with care – Keep the soil moist but not soggy.
- Thin out weaker seedlings – If multiple seedlings sprout in one spot, keep the strongest one.
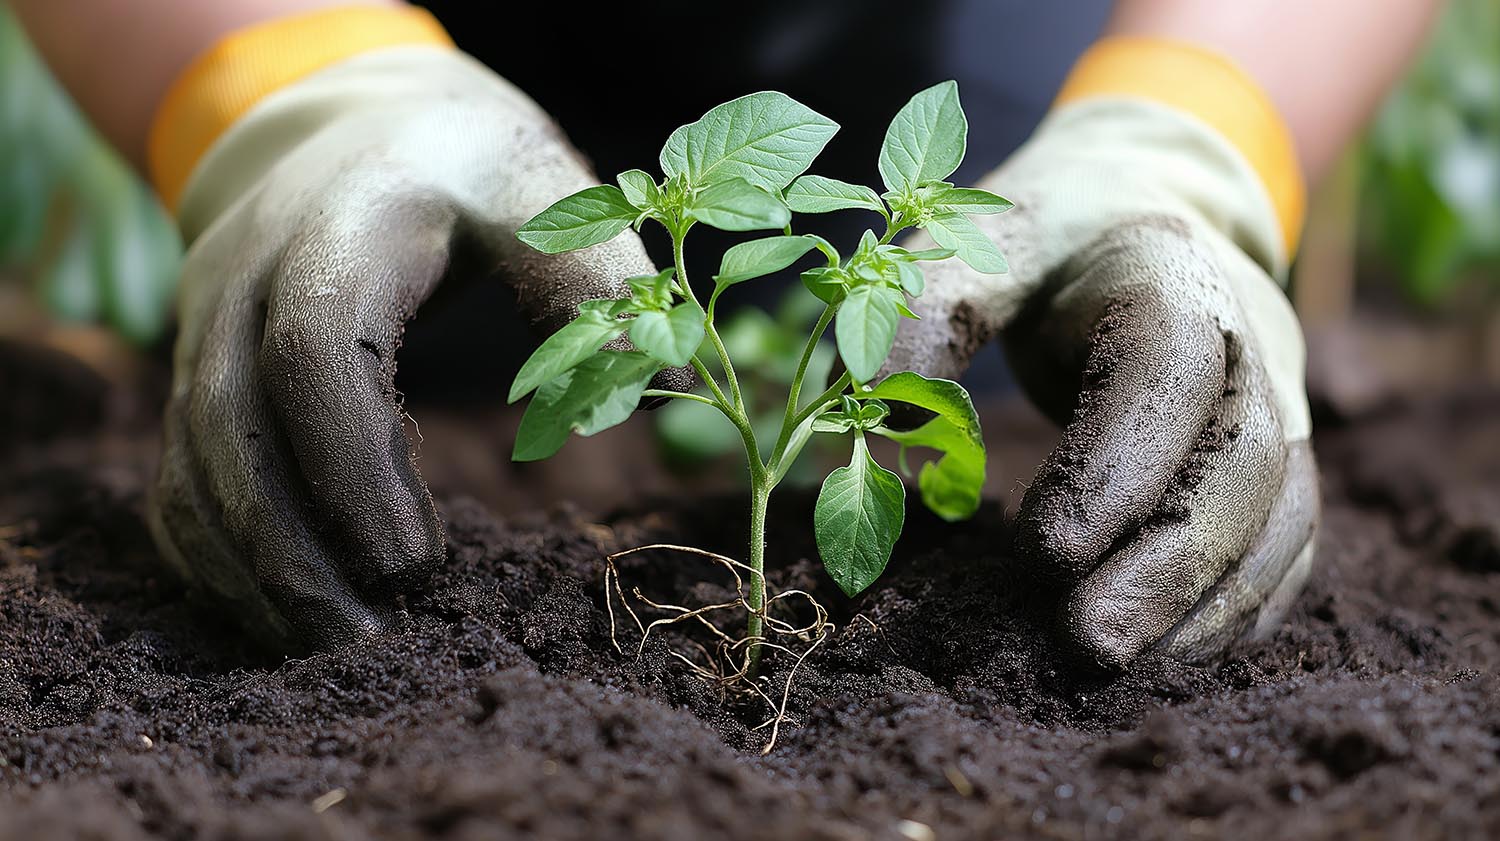
Step 7: Transplanting into Bigger Pots
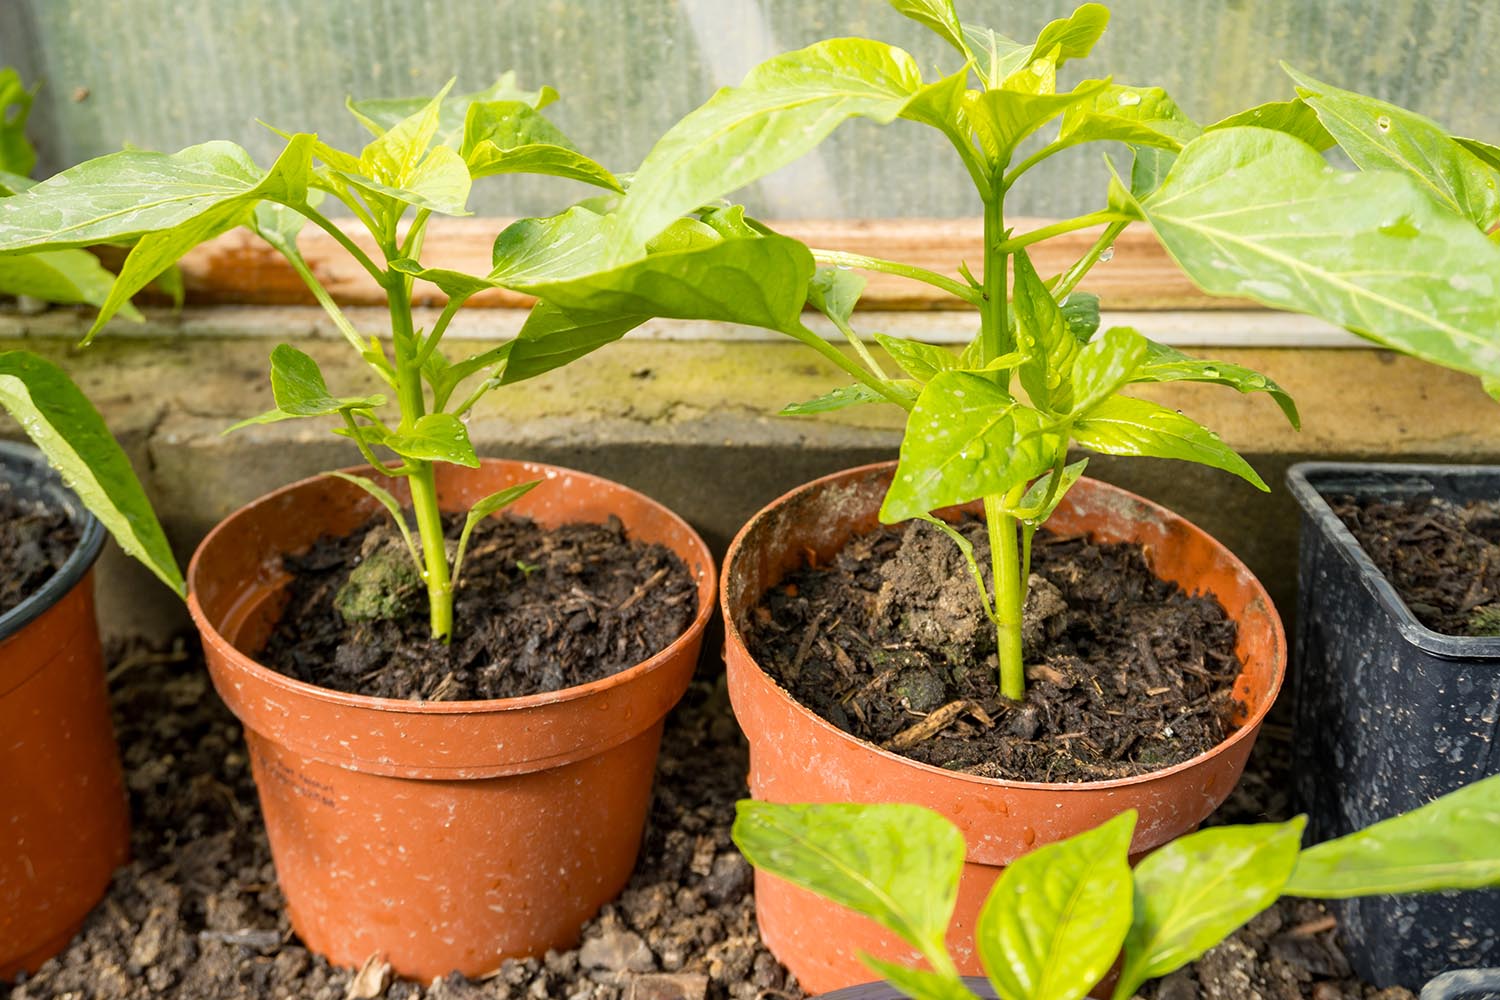
When? Once the seedlings have two true leaves (about 3-4 weeks after germination). How?
- Water the seedlings 1-2 hours before transplanting to reduce root damage.
- If using paper egg cartons, cut them apart (you can plant directly in soil as they decompose naturally).
- Fill larger containers with the same soil mix used earlier.
- Transplant the seedlings with their root ball, burying them up to the first leaves.
- Water lightly and place in a bright location.
Step 8: Post-Transplant Care
- Water moderately to prevent overwatering.
- Maintain a temperature of 20-24°C (68-75°F) with no sudden fluctuations.
- First feeding: After 7-10 days, use a diluted compost tea or liquid humic fertilizer.
Step 9: Hardening Off Before Planting Outdoors
About 7-10 days before moving them outdoors, gradually expose your seedlings to outdoor conditions:
- Start with 1-2 hours of outdoor time per day, increasing gradually.
- Protect from direct sunlight and strong winds initially.
easyDacha app
It simplifies the process by analyzing your space and suggesting crops that will thrive based on factors like sunlight, water availability, and ground type. It even provides step-by-step to-do lists tailored to your location and climate, ensuring you never miss a critical gardening task.
🌱 Join our pre-launch list today to get early access and make your gardening journey smoother, more productive, and more enjoyable!
🌱 Join our pre-launch list today to get early access and make your gardening journey smoother, more productive, and more enjoyable!
Conclusion
Peppers respond best to consistency and patience. When each stage is done correctly, plants develop strong roots, balanced growth, and higher yields.
Whether you are growing Jalapeño, sweet peppers, or hot varieties, following this structured approach makes the process predictable and rewarding.
Using a garden planner app can simplify planning, especially when managing multiple plants or growing across different seasons.
Whether you are growing Jalapeño, sweet peppers, or hot varieties, following this structured approach makes the process predictable and rewarding.
Using a garden planner app can simplify planning, especially when managing multiple plants or growing across different seasons.
Download the gardening planner