Yeast fertilizer is one of those gardening tricks that sounds too simple to work. A packet of dry yeast, a spoonful of sugar, and warm water. Two hours of waiting and you have a soil drench that stimulates microbial activity and promotes root growth. This technique has been standard in Russian and Eastern European kitchen gardens for decades. It's catching on in the US for a good reason. Yeast cells produce B vitamins, amino acids, and natural growth hormones (cytokinins and auxins) that wake up soil biology. The microbes in your soil respond to the yeast like a shot of espresso. They multiply, break down organic matter faster, and make nutrients available to roots that were locked up before.
TL;DR: Mix 1 packet (7 g) dry yeast and 1 tablespoon sugar in 2 cups (about 500 ml) warm water. Let it activate for 2 hours. Dilute to 2.5 gallons (10 L) and drench soil at 2 cups (about 500 ml) per plant. Use same day. Repeat every 2 to 3 weeks.
The recipe
One recipe. Three ingredients from the baking aisle.
For 2.5 gallons (10 L) of diluted fertilizer:
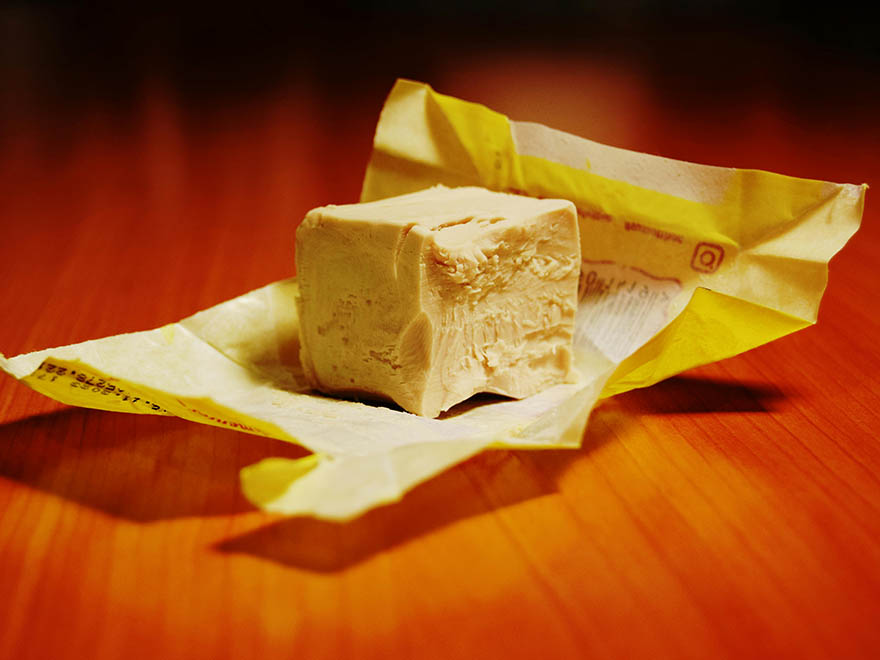
- 1 packet (about 1/4 ounce / 7 g) active dry yeast. Standard grocery store baking yeast. Not instant, not nutritional yeast, not brewer's yeast.
- 1 tablespoon (15 ml) white sugar
- 2 cups (about 500 ml) warm water for activation. Warm means comfortable to the touch, around 95°F to 110°F (35°C to 43°C). Not hot. Hot water kills the yeast.
Mix it:
- Pour 2 cups (about 500 ml) of warm water into a jar or pitcher.
- Add 1 tablespoon of sugar and stir until dissolved.
- Sprinkle the yeast packet over the surface. Stir gently.
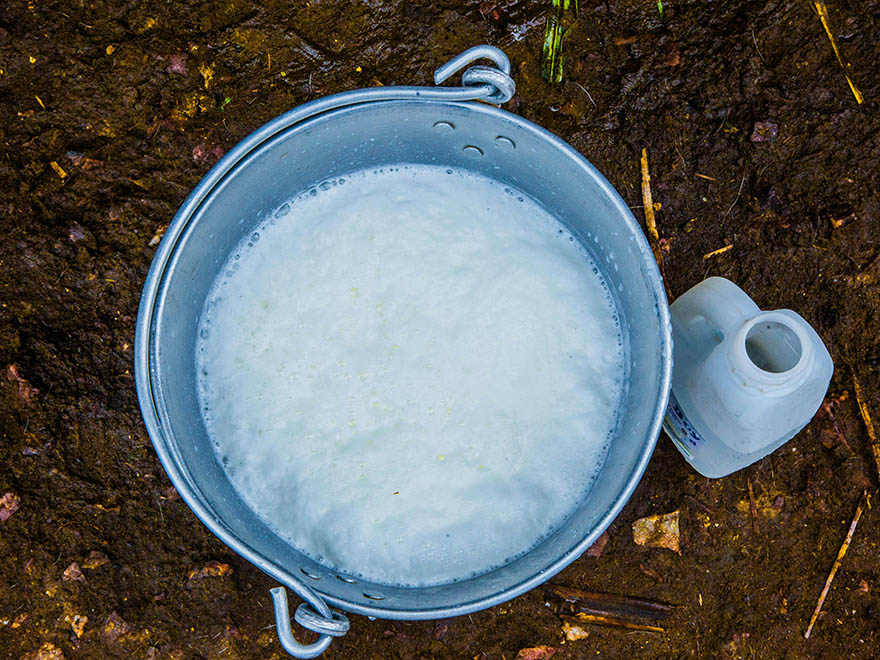
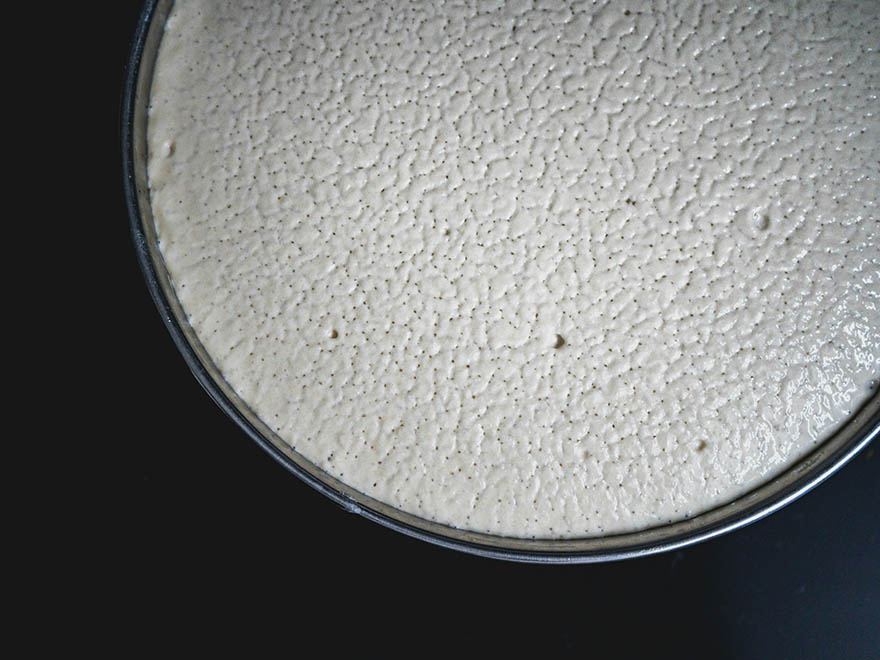
- Cover loosely and let sit at room temperature for 2 hours. The mixture will foam and bubble. That's the yeast activating and multiplying. If it doesn't foam, your water was too hot or the yeast is expired. Start over with fresh yeast and cooler water.
- After 2 hours, pour the activated yeast mixture into a watering can.
- Add water to bring the total volume to 2.5 gallons (10 L). This gives you a 1:20 dilution.
Ready to use.
Shelf life: none. Use the same day you make it. Yeast is a living organism. Once diluted, the cells start dying within hours. There's no way to store this.
How to apply
Pour 2 cups (about 500 ml) of the diluted yeast solution at the base of each plant as a soil drench. Water the soil directly, not the leaves.
Frequency: once every 2 to 3 weeks during the growing season. Yeast fertilizer works best in warm soil (above 60°F / 15°C). Cold soil slows microbial activity, so early spring applications won't do much. Wait until the soil has warmed up.
Timing in the season: start 2 weeks after transplanting. By then, roots are established and the soil biology around them is ready to respond. Continue through the growing season. Stop feeding 2 to 3 weeks before harvest.
For containers, use the same rate: 2 cups per plant. But feed every 3 weeks rather than every 2, since nutrients cycle differently in pots.
Why yeast works as plant fertilizer
Yeast (Saccharomyces cerevisiae) isn't a fertilizer in the traditional NPK sense. It contains almost no nitrogen, phosphorus, or potassium. What it does contain is B vitamins (B1, B2, B6, B12), amino acids, and natural plant growth hormones including cytokinins and auxins.
When you drench soil with activated yeast, two things happen. First, the yeast cells themselves release their growth hormones and B vitamins as they die and decompose. These compounds stimulate root cell division and elongation. Second, the yeast and the sugar you added act as food for existing soil microbes. Bacteria and fungi in the soil respond to this food source by multiplying rapidly. More microbes means faster breakdown of organic matter and more nutrients released into forms that plant roots can absorb.
The effect is most visible 5 to 10 days after application. Plants tend to green up, push new growth, and establish root systems faster. The boost is temporary. It fades as the yeast food source is consumed. That's why you reapply every 2 to 3 weeks.
This technique is well documented in Russian biological gardening traditions. Agricultural research confirms that yeast applications increase soil microbial biomass and improve nutrient cycling in the root zone. The effect is strongest for phosphorus and micronutrients that are often locked up in soil.
Is yeast fertilizer safe for all plants?
Yes. At 1:20 dilution, yeast fertilizer is safe for all vegetables, herbs, flowers, and fruit. It won't burn roots, won't change soil pH, and won't interfere with other fertilizers.
Works on everything from tomatoes to lettuce to roses. The effect is strongest in soil that already has some organic matter for the microbes to work on. In completely sterile or depleted soil, add compost first. The yeast needs something to feed the microbes it's stimulating.
One exception: don't pour yeast solution on or near your compost pile. Yeast residue attracts slugs and snails. Keep it on garden beds and containers only.
What NOT to do
Don't use hot water. Yeast dies above 120°F (49°C). If the water is too hot to hold your hand in, it's too hot for yeast. Use warm water around 95°F to 110°F (35°C to 43°C).
Don't store it. Yeast is alive. Once diluted, it starts dying within hours. Mix fresh each time you feed. There's no way to make a batch and save it for later.
Don't over-apply. Every 2 to 3 weeks is the right frequency. More often than that can over-stimulate soil microbes, which burn through organic matter too fast and leave the soil depleted. Think of it as coffee for your soil. One cup gets things moving. Six cups cause a crash.
Don't skip the activation step. Just dumping dry yeast into your watering can and adding water doesn't work. The yeast needs the sugar and warm water to activate and start producing the compounds that benefit your soil. If it doesn't foam after 2 hours, it's dead yeast. Toss it and start over.
Don't pour it near your compost pile. Yeast residue in the soil around compost bins attracts slugs and snails. Apply to garden beds and containers only, away from composting areas.
Best for which plants
Yeast fertilizer stimulates soil biology and root growth. Every plant benefits, but some show it more visibly than others.
- Tomatoes — respond strongly to yeast drenches during the vegetative and early fruiting stages. Faster root establishment, thicker stems, more vigorous growth.
- Peppers and eggplant — same family, same response. Feed every 2 to 3 weeks from transplant through fruit set.
- Cucumbers and squash — heavy feeders with big root systems. Yeast helps the soil biology keep up with their demand.
- Strawberries — a traditional use in Russian gardens. Apply in spring when growth resumes and again during flowering.
- Potatoes — yeast drenches every 2 to 3 weeks improve tuber size and soil nutrient cycling around the root zone.
- Container herbs and flowers — containers lack natural soil biology. Yeast introduces microbial activity that potting mix doesn't have on its own.
When yeast fertilizer doesn't seem to help
If you've been drenching with yeast and plants aren't responding, check three things. First: soil temperature. Yeast-stimulated microbes need warm soil to work. Below 60°F (15°C), microbial activity slows to a crawl. Wait for the soil to warm up. Second: organic matter. Microbes need food. If your soil is sandy, depleted, or straight potting mix with no compost, add organic matter first. Yeast stimulates microbes, but microbes need something to eat. Third: are you using expired yeast? Check the date on the packet. Dead yeast won't foam during activation and delivers nothing to the soil.
For a full feeding schedule by growth stage, see our vegetable gardening beginner guide.
FAQ
Does yeast fertilizer really work on plants?
Yes. Yeast cells contain B vitamins, amino acids, and natural growth hormones (cytokinins and auxins) that stimulate root growth and soil microbial activity. The effect is well documented in Eastern European agricultural research. Plants typically green up and push new growth within 5 to 10 days of application. It's a soil biology booster, not a traditional NPK fertilizer.
How often should I use yeast fertilizer?
Every 2 to 3 weeks during the growing season, starting 2 weeks after transplanting. More frequent applications can over-stimulate soil microbes, burning through organic matter too quickly. Stop feeding 2 to 3 weeks before harvest.
Can I use instant yeast instead of active dry yeast?
Active dry yeast is the best choice because it activates slowly and gives you a visible foam to confirm it's alive. Instant yeast works but activates faster and gives less visual feedback. Don't use nutritional yeast or brewer's yeast. Those are dead and won't stimulate soil biology.
Why didn't my yeast foam up?
Either the water was too hot (above 120°F / 49°C, which kills yeast) or the yeast packet was expired. Check the expiration date. Try again with fresh yeast and water around 95°F to 110°F (35°C to 43°C). If it doesn't foam within 2 hours, the yeast is dead and won't benefit your soil.
Is yeast fertilizer safe for tomatoes?
Yes. Tomatoes are one of the most responsive crops to yeast soil drenches. Feed every 2 to 3 weeks from transplant through fruit set. The yeast stimulates root growth, soil microbial activity, and nutrient availability in the root zone. Dilute to 1:20 and apply 2 cups (about 500 ml) per plant.
Can I store yeast fertilizer for later?
No. Yeast is a living organism. Once activated and diluted, the cells begin dying within hours. Mix a fresh batch every time you feed. There is no way to preserve or extend the life of the solution.
Is there a gardening app that reminds me when to feed?
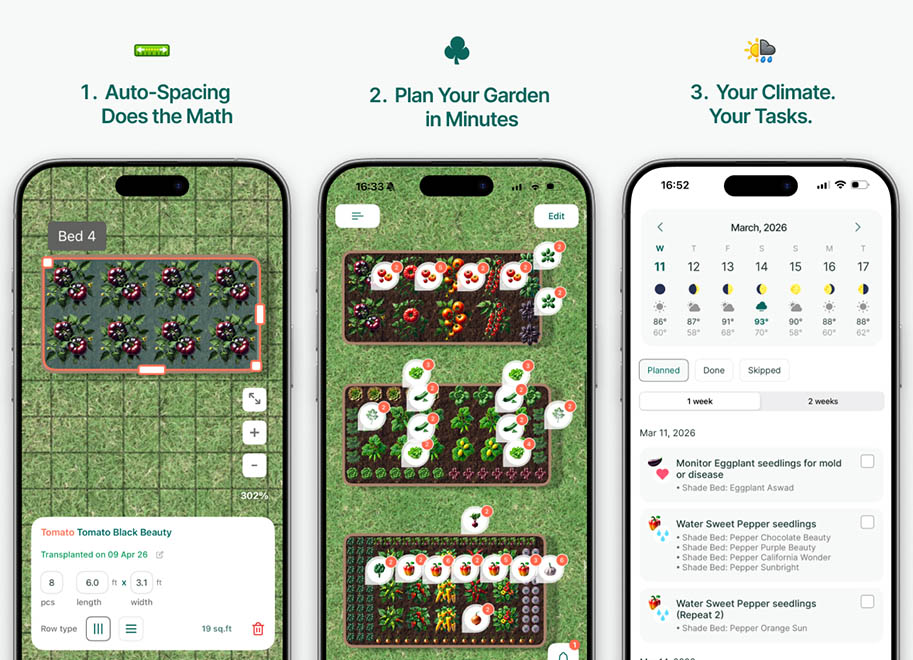
Yes. The easyDacha garden planner app schedules feeding tasks by growth stage for every plant in your garden. It tells you when to drench, when to switch feeds, and when to stop before harvest. Free 14-day trial at easydacha.com/download.
Three ingredients, healthier soil
Healthy plants start with healthy soil biology. Yeast wakes up the microbes that make nutrients available to roots. But every growth stage needs something different, and timing matters.
The easyDacha gardening app builds a feeding schedule tied to each plant's growth stage. Seedling through harvest. Each task tells you what to apply and when. No guessing, no spreadsheets.
Try easyDacha free for 14 days →. The garden planner app that plans your season in 60 seconds. Cancel anytime.
Related reading on easydacha.com
- Vegetable Gardening for Beginners: A Step-by-Step Guide — soil, timing, feeding, and first-year planning.
- Homemade Organic Pesticide for the Vegetable Garden — more DIY garden recipes.
- Companion Planting Guide: Double Your Harvest Naturally — plant combinations that support soil health.
- Caring for Transplanted Seedlings: First 2 Weeks Critical Care Guide — when to start feeding after transplant.