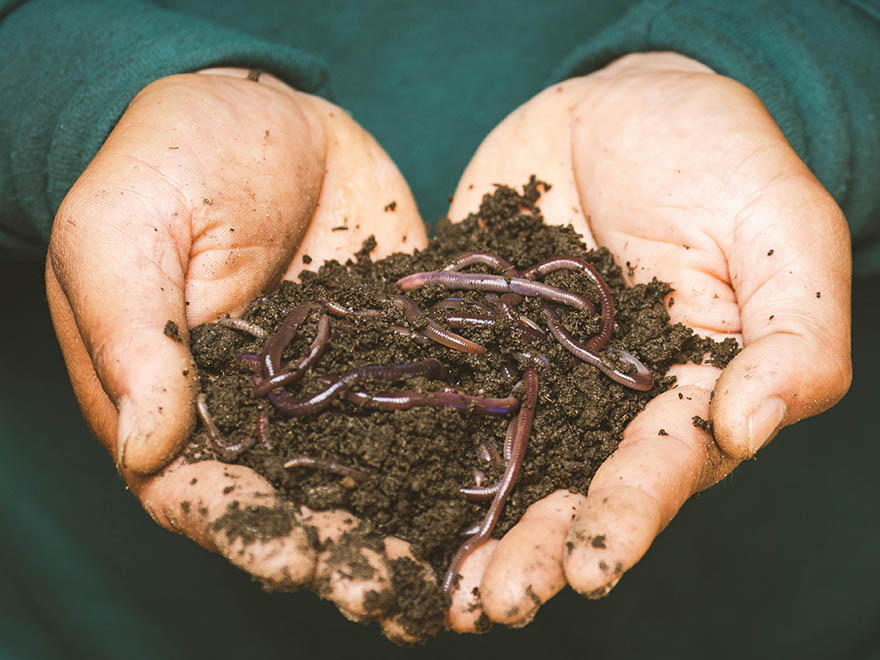
Worm castings are the richest organic fertilizer you can produce at home. They contain more available nitrogen, phosphorus, and potassium than compost. They are loaded with beneficial microbes that colonize the root zone and suppress disease. A small worm bin under your kitchen sink or in a closet processes your kitchen scraps into black gold in about 3 months. Once you have castings, you can brew vermicompost tea. Aerate a handful of castings in water for 24 hours and the microbial population multiplies into billions. One cup of castings makes a gallon of living fertilizer. This guide covers both parts: setting up the worm bin and brewing the tea.
TL;DR: Set up a 5-gallon (20 L) tote with ventilation holes, damp shredded cardboard bedding, and red worms (Eisenia fetida). Feed kitchen scraps weekly. Harvest castings in 3 months. For tea: steep 1 cup (240 ml) castings in 1 gallon (3.8 L) non-chlorinated water with an aquarium pump for 24 hours. Strain. Drench about 1 cup (200 ml) per plant. Dilute 1:3 for seedlings.
Part 1: Set up the worm bin
A worm bin is a contained composting system where red worms eat your kitchen scraps and produce castings. The setup takes 20 minutes.
What you need
- A 5-gallon (20 L) plastic tote with a lid. Dark colored, not clear. Worms avoid light.
- A drill with a 1/8 inch (3 mm) bit for ventilation holes.
- Shredded cardboard and newspaper for bedding. No glossy paper, no colored ink.
- Red worms (Eisenia fetida). About 1/2 pound (225 g) to start. Available online or at bait shops. Do not use earthworms from your garden. They are a different species and do not survive in bins.
- A spray bottle with water.
Build the bin
- Drill 15 to 20 small holes in the lid for air circulation. Drill another 10 holes along the upper sides of the tote, about 1 inch (2.5 cm) from the top. Worms need air. Without ventilation, the bin goes anaerobic and smells.
- Drill 5 to 8 small holes in the bottom for drainage. Place a tray or second lid underneath to catch any liquid that drips out. This liquid is not tea. It is leachate and should be diluted heavily or discarded.
- Shred cardboard and newspaper into strips about 1 inch (2.5 cm) wide. Fill the tote about 2/3 full with the shredded bedding.
- Mist the bedding with the spray bottle until it feels like a wrung-out sponge. Damp but not dripping. This is the moisture level worms need.
- Add the red worms on top of the bedding. Leave the lid off for 10 minutes under a light. Worms avoid light and will burrow into the bedding on their own.
- Put the lid on. Place the bin in a spot that stays between 55 and 77°F (13 to 25°C). Under the kitchen sink, in a closet, in the garage, or in a basement all work. Avoid freezing or hot locations.
The bin is ready. Wait 3 to 5 days before the first feeding so worms settle into the bedding.
What to feed
Worms eat most kitchen scraps. Feed about 1 to 2 cups (240 to 480 ml) of scraps per week for a starting population of 1/2 pound.
Feed these: fruit and vegetable scraps, coffee grounds and filters, tea bags (remove staples), eggshells (crushed), plain bread in small amounts, shredded paper.
Don't feed these: meat, dairy, oily food, citrus in large quantities (small amounts are fine), onions and garlic in large quantities, pet waste, diseased plants.
How to feed: pull back the bedding on one side, bury the scraps under 2 to 3 inches (5 to 8 cm) of bedding, and cover them. Rotate the feeding spot each week (left side, right side, back, front). Never leave food on the surface. Exposed food attracts fruit flies.
Harvest castings
After about 3 months, the bedding transforms into dark, crumbly worm castings. Time to harvest.
Push-to-one-side method: push all the bin contents to one side. Fill the empty side with fresh damp bedding and start burying food only on the fresh side. Over 2 to 3 weeks, worms migrate to the food. Scoop out the castings from the abandoned side.
Light method: dump the bin contents onto a tarp under bright light. Worms dive away from light. Wait 10 minutes, scrape off the top layer of castings. Wait again, scrape again. Repeat until you reach the worm cluster at the bottom. Return worms to the bin with fresh bedding.
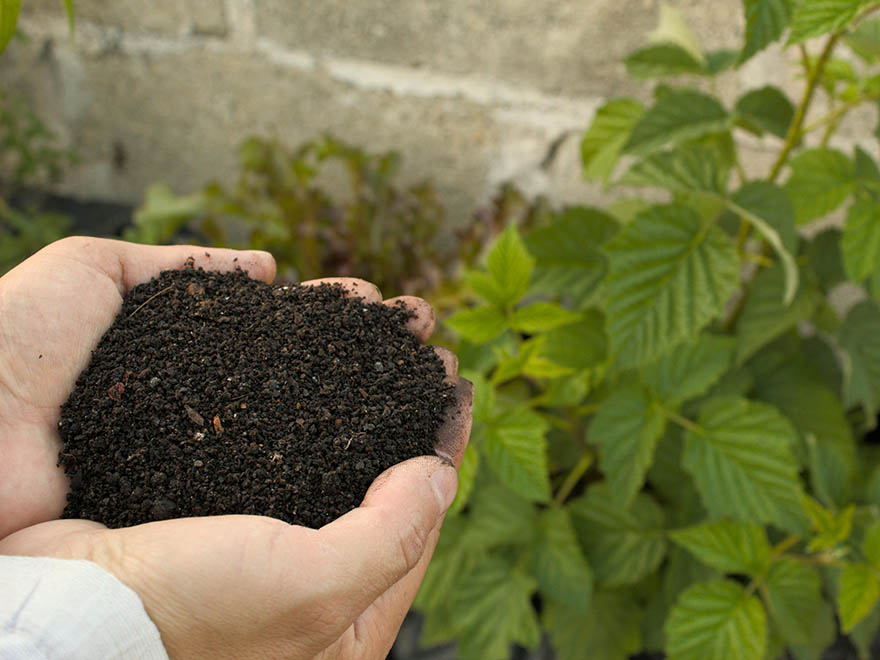
Store harvested castings in a breathable container (cloth bag, open bucket) in a cool spot. They stay good for months. Do not seal them in an airtight container. The microbes need air.
Part 2: Brew vermicompost tea
Vermicompost tea is a liquid extract of the microbes and nutrients in worm castings. Aeration multiplies the microbial population. One cup of castings produces a gallon of living fertilizer.
The recipe
For 1 gallon (3.8 L) of tea:
- 1 cup (240 ml) worm castings
- 1 gallon (3.8 L) non-chlorinated water. If your tap water is chlorinated, fill the container and let it sit uncovered for 24 hours before brewing. Chlorine kills the microbes you are trying to grow.
- An aquarium pump with an air stone. This is essential. Without aeration, the tea goes anaerobic and breeds harmful bacteria instead of beneficial ones.
Brew it
- Fill a bucket or jar with 1 gallon (3.8 L) of non-chlorinated water.
- Place the air stone at the bottom and turn on the aquarium pump.
- Add 1 cup (240 ml) of worm castings directly into the water. Some people use a mesh bag (old sock, cheesecloth pouch). Either way works. Loose castings produce a stronger tea but require straining.
- Let the pump run for 24 hours. The aeration feeds oxygen to the beneficial microbes, and their population explodes during this time.
- After 24 hours, turn off the pump. Strain through cheesecloth or a fine mesh strainer if you added castings loose.
The tea is ready. Use it immediately.
Do not store vermicompost tea. The microbial population peaks at 24 hours and begins dying once aeration stops. Use within 4 to 6 hours of turning off the pump. Mix a fresh batch every time.
Do not add molasses. Some recipes call for molasses as a microbial food during brewing. This is controversial. Molasses feeds all microbes, including harmful ones. Without lab testing, you cannot confirm that the tea is safe. Biological gardening protocols specifically warn against adding sugar sources to aerated microbial teas. Keep it simple: castings, water, and air.
How to apply
Soil drench (full-strength): pour about 1 cup (200 ml) of undiluted tea at the base of each plant. Water the root zone directly. The microbes colonize the soil and the root surface.
Seedling drench (diluted): mix 1 part tea to 3 parts water. About 2 tablespoons (30 ml) of diluted tea per seedling cell or small pot. Young roots are sensitive. Full-strength tea on tiny seedlings can cause nutrient burn.
Foliar spray: strain the tea thoroughly, pour into a spray bottle, and mist both sides of leaves in the morning. The microbes colonize the leaf surface and compete with disease-causing fungi for space. This is the same competitive exclusion principle behind milk spray and Bacillus subtilis treatments.
Frequency: every 2 to 4 weeks during the growing season. Vermicompost tea is gentle enough to apply regularly without risk of overfeeding.
Direct castings application: you can also apply castings directly without brewing tea. A handful of castings per plant as a top-dressing works as a slow-release microbial inoculant. Water carries the microbes down into the root zone. For seedlings in pots, place 1 teaspoon of castings at the bottom of the pot before filling with soil. This creates a nutrient gradient that encourages roots to grow downward.
Worm bin troubleshooting
Bin smells bad: too wet or too much food. Add dry shredded cardboard to absorb moisture. Reduce feeding for a week. Drill more ventilation holes if needed. A healthy bin smells like forest soil, not garbage.
Fruit flies: food is exposed on the surface. Always bury scraps under 2 to 3 inches of bedding. Freeze scraps for 24 hours before adding them to kill fly eggs.
Worms are climbing the walls: the bin is too wet, too acidic, or too hot. Check moisture (wrung-out sponge), add crushed eggshells for calcium and pH buffering, and move the bin to a cooler location.
Worms are dying: temperature extremes. Below 40°F (4°C) or above 85°F (29°C) kills red worms. Move the bin to a temperature-stable location between 55 and 77°F (13 to 25°C).
Fungus gnats around the bin: worm bins attract fungus gnats because of the moist organic matter and CO2 from decomposition. Keep the bin covered, bury food deeply, and let the surface dry slightly between feedings. For heavy infestations, a Metarhizium soil drench in the bin itself targets the gnat larvae without harming the worms.
What NOT to do
Don't use garden earthworms. Garden earthworms (Lumbricus terrestris) need deep soil to survive. They die in bins. Red worms (Eisenia fetida) are the only species suited to bin composting. Buy them from a vermiculture supplier or bait shop.
Don't overfeed. Start with 1 to 2 cups of scraps per week. Worms eat roughly half their body weight per day. A 1/2 pound of worms processes about 1/4 pound of food daily. Overfeeding creates anaerobic conditions and odor.
Don't skip the aeration when brewing tea. Without an aquarium pump, the tea goes anaerobic within hours. Anaerobic tea breeds harmful bacteria (E. coli, Salmonella). It smells like sewage. If it smells bad, dump it. Never apply anaerobic tea to food crops.
Don't add molasses to the tea. It feeds all microbes, including pathogens. Without lab testing, you cannot verify the tea is safe. Castings, water, and air produce a reliable, safe tea every time.
Don't seal castings in airtight containers. The microbes need oxygen. Store in breathable containers (cloth bags, open buckets). Sealed castings go anaerobic and lose their microbial value.
Don't store brewed tea. Use within 4 to 6 hours of brewing. The beneficial microbe population crashes once aeration stops. Brew fresh each time.
FAQ
How do I set up a worm bin at home?
Use a 5-gallon (20 L) dark plastic tote. Drill ventilation holes in the lid, upper sides, and bottom. Fill 2/3 with damp shredded cardboard. Add 1/2 pound (225 g) of red worms (Eisenia fetida). Feed 1 to 2 cups of kitchen scraps weekly, buried under bedding. Keep between 55 and 77°F (13 to 25°C). Harvest castings in about 3 months.
How do I make vermicompost tea?
Steep 1 cup (240 ml) of worm castings in 1 gallon (3.8 L) of non-chlorinated water. Aerate with an aquarium pump and air stone for 24 hours. Strain and use immediately. The aeration multiplies beneficial microbes. Do not store the tea. Brew fresh each time.
Do I need an aquarium pump to make worm tea?
Yes. Aeration is essential. Without it, the tea goes anaerobic and breeds harmful bacteria instead of beneficial ones. A basic aquarium pump with an air stone costs $10 to $15 and is the only piece of equipment you need beyond a bucket.
Can I keep a worm bin in an apartment?
Yes. A 5-gallon tote fits under a kitchen sink or in a closet. A properly maintained bin has no odor. It smells like forest soil. Keep the lid on, bury food under bedding, and maintain proper moisture. Feed fruit and vegetable scraps, coffee grounds, and eggshells. Avoid meat, dairy, oily food, and pet waste.
How often should I apply vermicompost tea?
Every 2 to 4 weeks during the growing season. Use about 1 cup (200 ml) per plant as a soil drench. For seedlings, dilute 1:3 with water. Vermicompost tea is gentle and safe for regular application. Always brew fresh and use within 4 to 6 hours.
Can I add molasses to vermicompost tea?
No. Molasses feeds all microbes, including harmful ones like E. coli and Salmonella. Without lab testing, you cannot confirm the tea is safe. Biological gardening protocols warn against adding sugar sources to aerated microbial teas. Keep it simple: castings, water, and air.
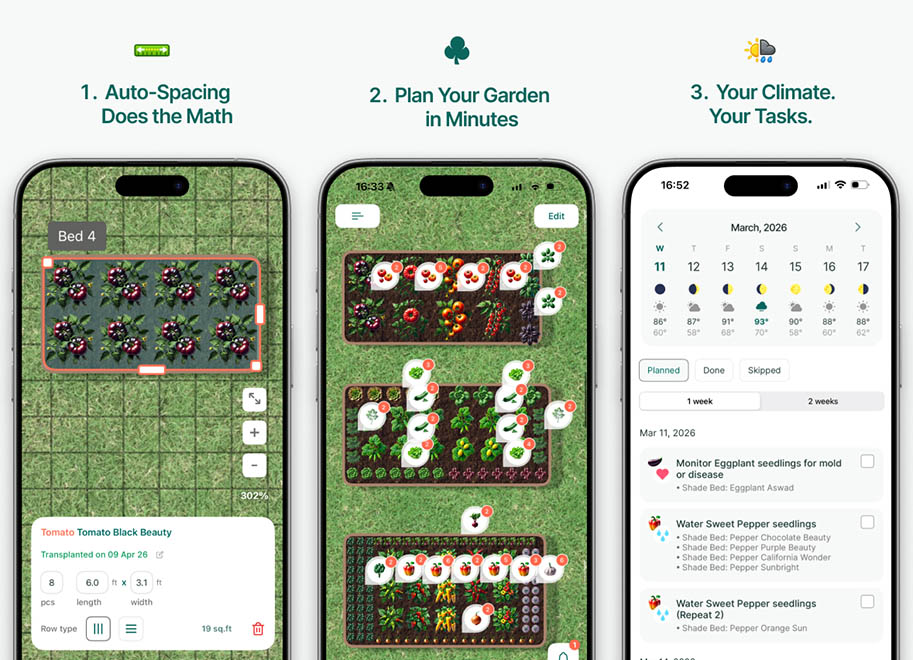
Is there a gardening app that schedules feeding tasks?
Yes. The easyDacha garden planner app schedules feeding tasks by growth stage for every plant in your garden. Free 14-day trial at easydacha.com/download.
The fertilizer factory under your sink
A shoebox-sized bin. A handful of worms. Your kitchen scraps. In three months you have the richest fertilizer money can buy, and it cost you nothing but a tote and some cardboard.
The easyDacha gardening app schedules feeding tasks by growth stage. Seedling, vegetative, flowering, fruiting. Each task lands on the right day so you feed at the right moment.
Try easyDacha free for 14 days →. The garden planner app that plans your season in 60 seconds. Cancel anytime.
Related reading on easydacha.com
- How to Use Molasses in the Garden (Soil Biology Drench) — another way to feed soil microbes (but not in aerated tea).
- Simple Fertilizer Plan for Flowering Vegetables — feeding schedule by growth stage for the whole season.
- Soil Acidity (pH): What It Is and How to Change It — understanding pH for better nutrient uptake from castings.
- How to Grow Metarhizium at Home to Kill Fungus Gnat Larvae — biological control for gnats that may appear around your worm bin.